Genie Integration: Complete setup guide (IT and practice)
The full i-scribe Genie setup in one place: install and configure the Akuru Sync Agent, map users, activate the integration in i-scribe, and set your Genie templates.
We have received your clinic's credentials from Genie and are now ready to configure your i-scribe/Genie integration. Steps 1 to 3 are completed by your IT provider on the server that hosts Genie. Step 4 is completed by the practice manager or clinician.
Prerequisites
Before you begin, ensure you have the information below. This will have been sent via a 1Password link (from info@akuru.com.au) to someone on your team. It contains three credentials:
- Akuru API Key (also called API Key)
- Genie API Password (also called Genie API Key)
- Genie Sender (your practice name)
You must also have Administrator access on your Genie server.
Step 1. Install the Akuru Sync Agent
- Download the Akuru Sync Agent.
- Right-click the downloaded file and select Run as administrator.
- Follow the installation prompts until complete.
- Once the installation is complete, select Open Akuru Sync Web UI.
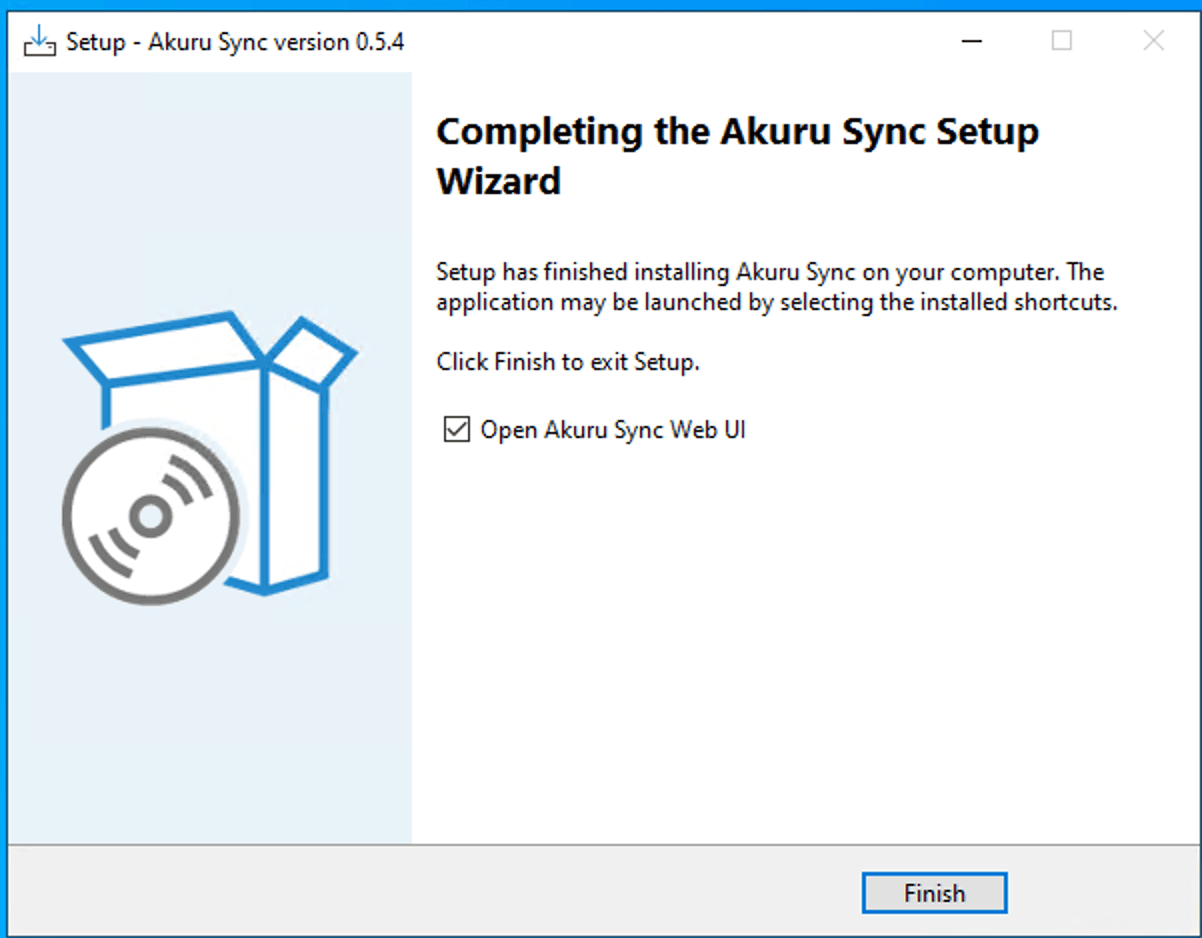
- Select Advanced and proceed to the agent. The agent will launch automatically.
- Set your master password.

Record your master password in a safe location. If you forget it, run Reset Akuru Sync Sign-In from the Start Menu on the server to create a new sign-in. Your Genie connection and API keys are not affected.
Step 2. Configure the Akuru Sync Agent for Genie
2.1 Add the Genie integration
- From the left-hand menu, select the Integrations tab.
- Select Add Integrations.

- Select Genie EMR.
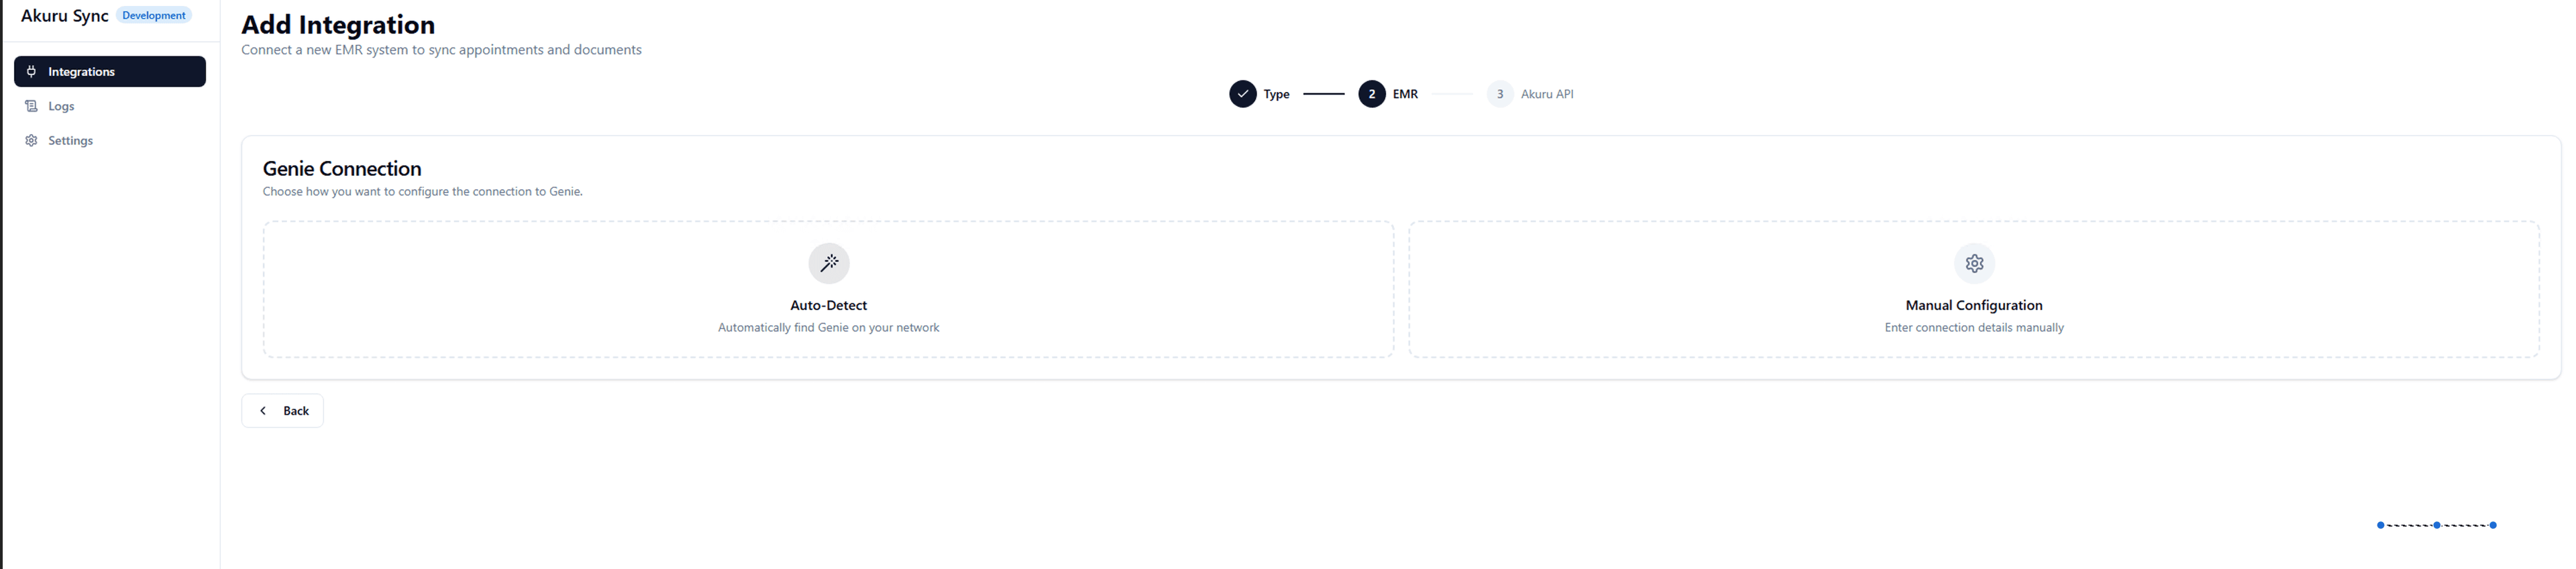
- Select Auto Detect.

If Genie is hosted on a different server to the one you are installing Akuru Sync on, select Manual Configure and enter the Genie server IP address.
2.2 Genie API Password (Genie API Key)
- Enter your Genie Sender (Practice Name).
- Enter the Genie API Password from your 1Password link.
- Click Test Connection to confirm the connection is successful.

2.3 Akuru API Key
- Paste the Akuru API Key from your 1Password link into the fields under Akuru Integrations (see image above).
- Click Test Connection to confirm the connection is successful.
- Note down the Integration Source ID that is shown. Your practice manager or clinician will need this to complete the integration.
Step 3. Add users
This links your Genie clinicians with their i-scribe accounts.
- Select Integrations from the left-hand menu.
- Select Manage User.
- Select Map a user.
- Match each clinician's name with their i-scribe email address, for example Dr Andrew Jones mapped to drandrewjones@gmail.com. The i-scribe support team can provide these email addresses.
- Click Save Mapping.
The status will show Disconnected until the clinician activates the integration in i-scribe with their Integration Source ID (Step 4). If you do not have a clinician's i-scribe email address yet, you can add it later.
Step 4. Activate the integration in i-scribe (practice manager or clinician)
4.1 Enter the Integration Source ID
Enter the Integration Source ID provided by your IT into your i-scribe Genie integration.
- In the i-scribe clinician view, open Settings in the bottom left corner of the menu, then select the Integrations tab.
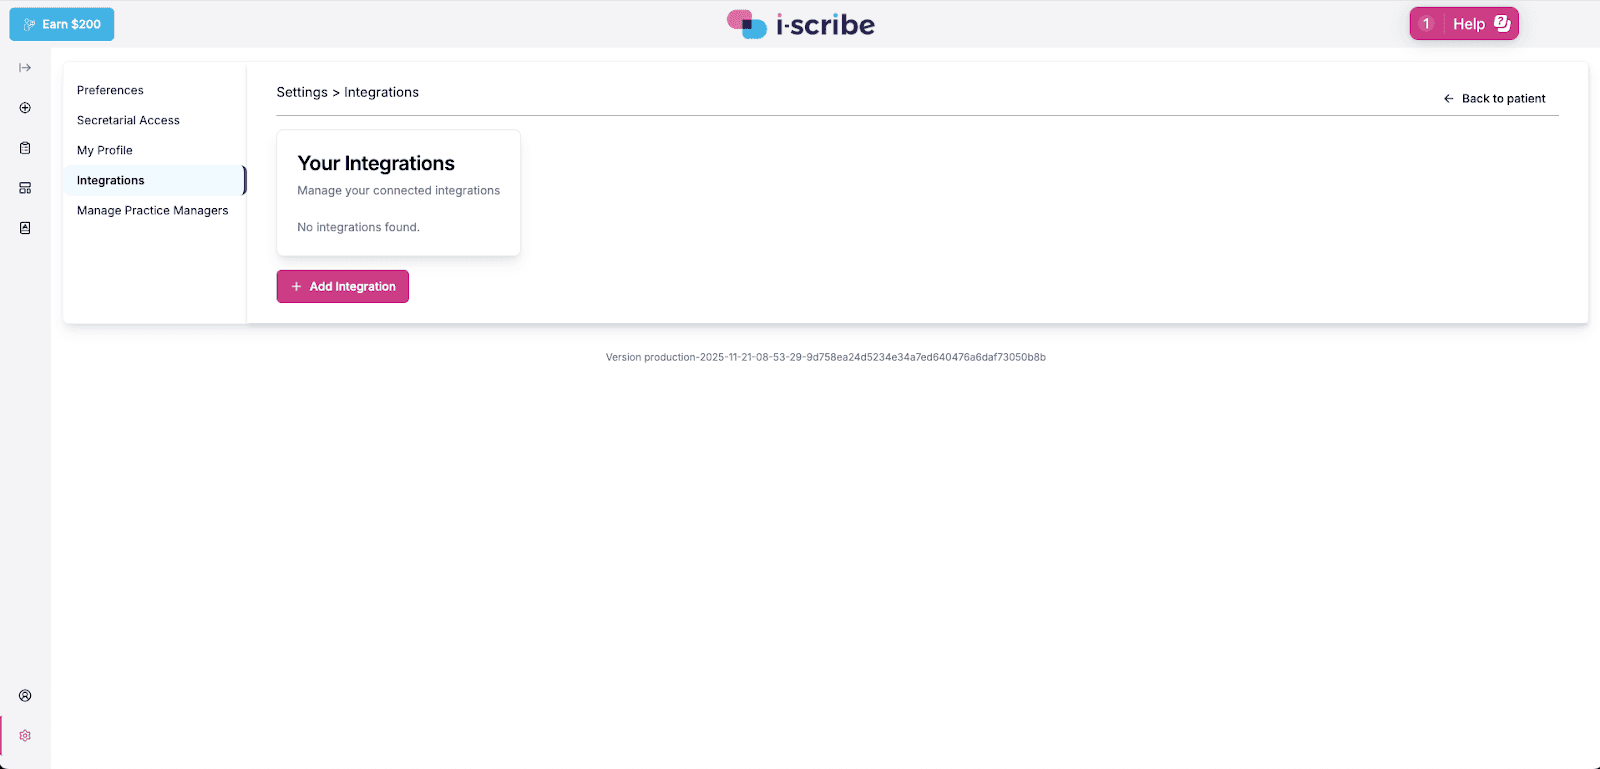
- Click + Add Integrations and select Genie from the dropdown menu.
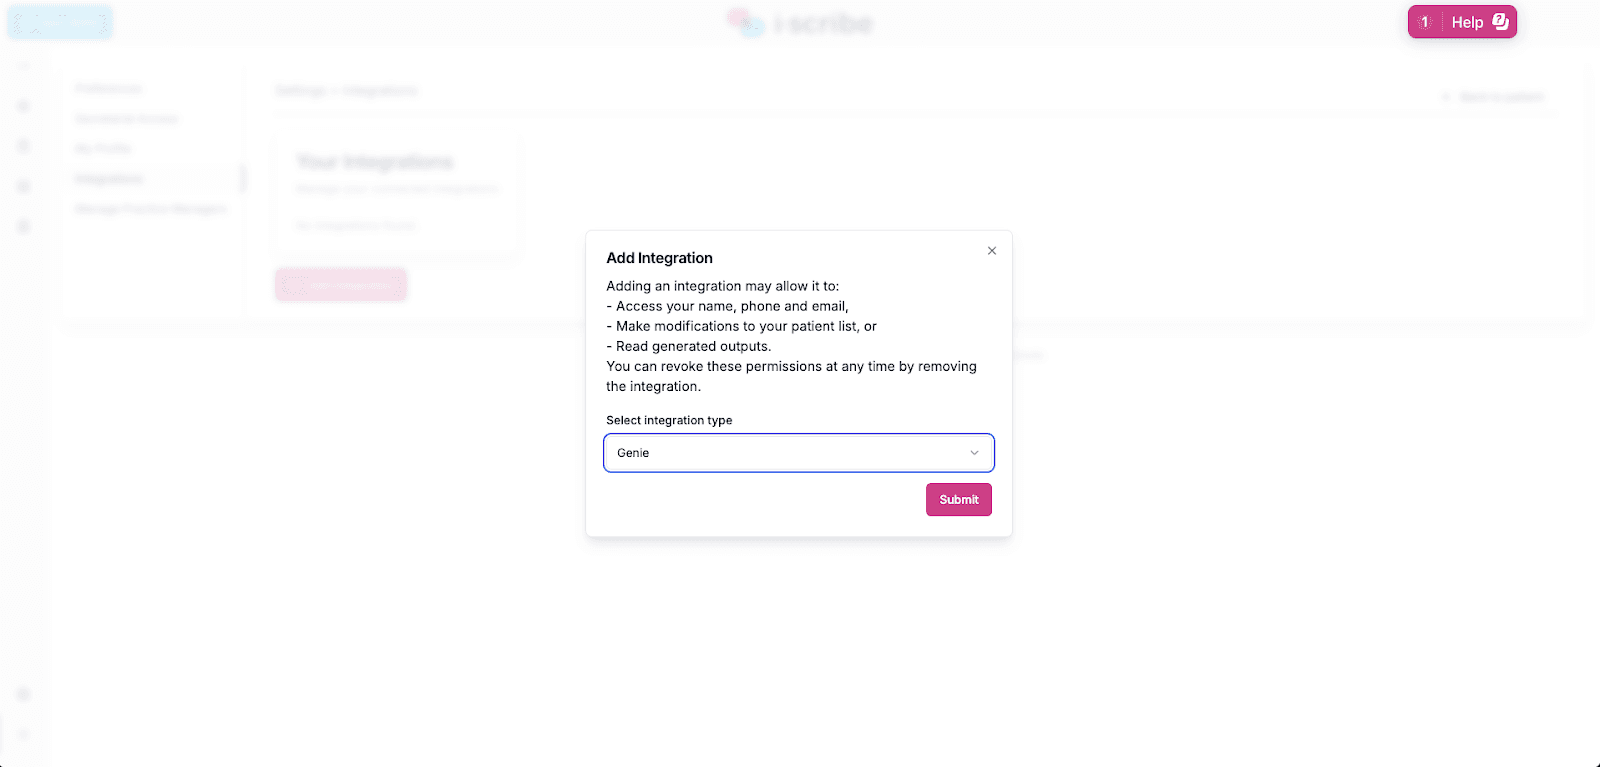
- Enter your Integration Source ID and click Submit.
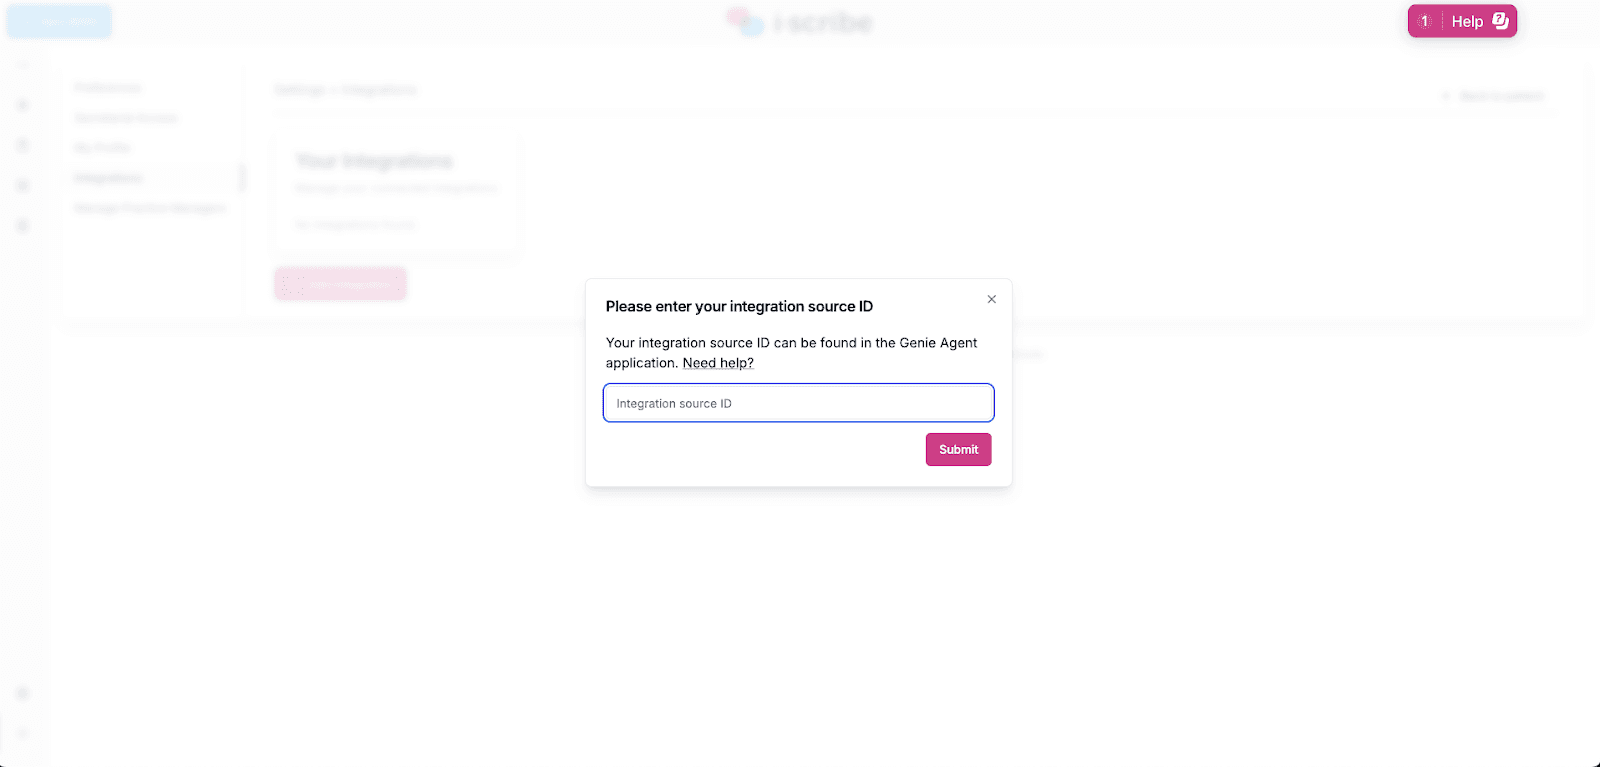
Once your IT provider has completed Steps 1 to 3, your clinic's patient list should appear in i-scribe within 15 minutes.
4.2 Set your default templates in Genie
This step is essential. If your templates are not set correctly in Genie, exported letters will not be sent to the correct section.
Follow the guide: How to set Genie templates
Need help?
Call 1800 943 646, or book a meeting with our team.
Please make sure the following people are at the meeting:
- Your clinic's IT representative
- The practice manager, ideally with live access to the clinician's i-scribe account (we can still go ahead without this)
Was this guide helpful?